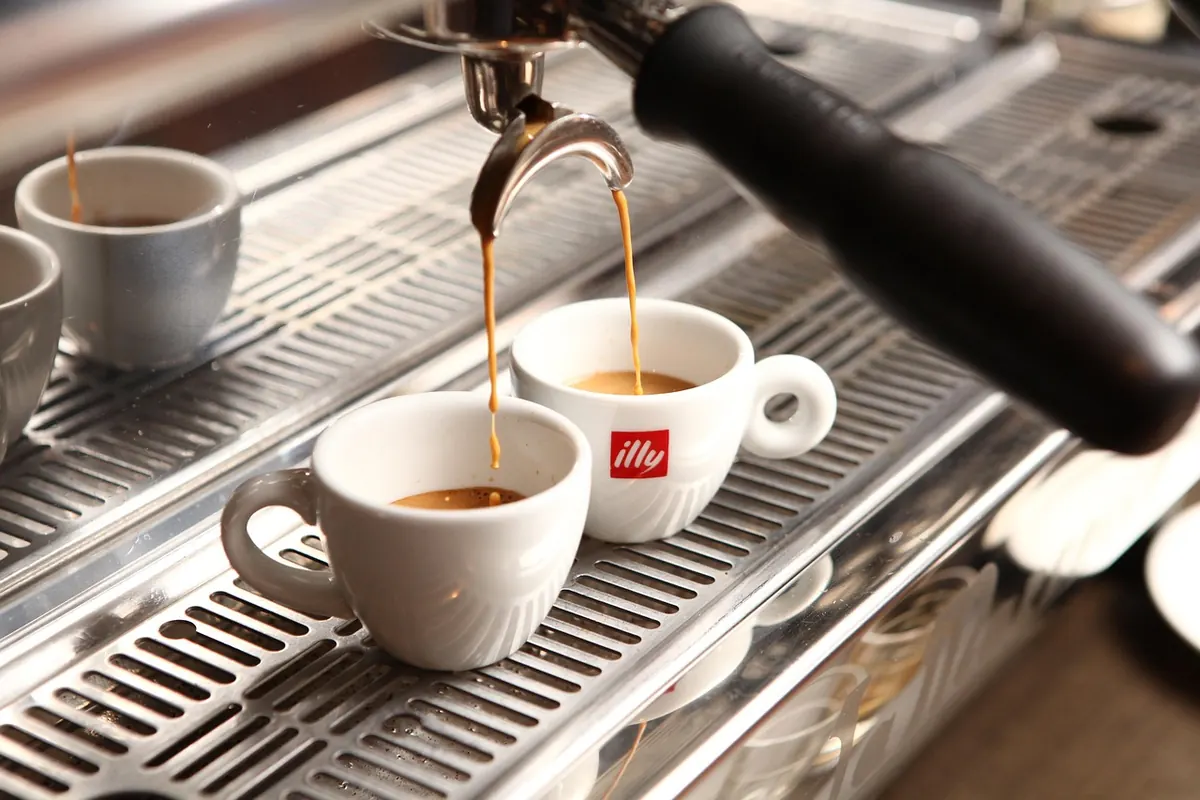
A home coffee bar does not need a spare room or a machine with a plumbed-in water line. It needs roughly the width of a baking tray, a few tools you will actually reach for before you have fully woken up, and a place for everything. Most small setups turn messy for one reason: items accumulate on the counter because they never had a home. So this checklist starts with the space itself, then fills it in order of usefulness.
Measure the counter before you buy anything
Take a tape measure to the spot you have in mind and write down three numbers: width, depth, and the clearance between the counter and the underside of any cabinet. That last one catches people out. A kettle needs room to lift its lid, and a grinder hopper needs to come off without scraping the shelf above.
A comfortable single-person station runs somewhere around 60 to 75 cm of width. Less than that is workable if you are brewing one cup at a time with a dripper or an AeroPress, but you will want vertical storage for cups and filters. Also note where the nearest outlet is, whether the surface is level, and how far you are from the sink. A station across the kitchen from the tap means every rinse becomes a walk.
Two small upgrades make a cramped corner feel deliberate: a tray or mat with a raised lip to define the work zone and catch drips, and a shelf or hook rack above the counter for mugs, a small scale, and a jar of filters.
The gear that earns its place
Buy in the order you would use it, and spend your budget on the grinder first. A consistent grind matters more than the brewer, the kettle, or the cup. Here is a sensible core kit for one or two people:
- A burr grinder. Conical hand grinders are quiet, cheap to own, and excellent for filter coffee. Electric burr grinders cost more but remove friction from busy mornings. Blade grinders produce uneven particles and are best avoided.
- One brewer you enjoy using. A pour-over dripper, an AeroPress, a French press, or a moka pot. Pick the one that matches how you actually drink coffee, not the one that photographs best.
- A kettle. A gooseneck gives you control for pour-over. For immersion brewing, any kettle with a good spout will do.
- A scale with a timer. Look for 0.1 g resolution and a flat, wipeable surface. Weighing beans is the single easiest way to make your coffee repeatable.
- Two or three mugs you like. Preheat them with hot water before brewing; it makes a noticeable difference in the cup.
- A small pitcher if you steam or froth milk, and a sturdy container for used grounds.
What can wait: a second brewer, decorative tampers, a milk frother you will use twice, and an espresso machine. Home espresso is a genuine commitment — it asks for a capable grinder, a routine, and regular cleaning. It is wonderful, but it is not the entry point for a compact, tidy station.
Storage that protects the beans
Coffee stales faster than most people expect. The enemies are oxygen, light, heat, and moisture, in roughly that order. An airtight, opaque canister with a firm seal is the practical answer. If you keep beans in the original bag, which often has a one-way valve, stand the bag inside a tin so light stays out.
Buy amounts you will finish within a few weeks rather than a kilogram you will still be working through in spring. Keep the canister in a cupboard, not next to the kettle or on a sunny windowsill. Skip the refrigerator: the repeated temperature swings and kitchen smells do the beans no favours. If you do buy a large bag, split it into small, airtight portions and freeze them, letting each portion come to room temperature before grinding.
For the rest of the station, stackable containers handle filters, sugar, and stirrers, and a small labelled jar or tin gives used grounds a temporary home before they go to the compost.
The cleaning kit, which is half the station
Cleaning supplies are the least glamorous purchase and the one that decides whether your coffee stays good. Store them in a drawer or a small box beside the station so they are never more than an arm's reach away.
- A stiff brush for grinder burrs and a smaller brush for spouts and basket edges.
- Two microfiber cloths: one damp for the counter, one dry for equipment.
- A descaling solution appropriate to your kettle or machine, used as the manufacturer directs.
- A rinse cup for spoons and drippers, plus a small tray to catch drips under the brewer.
- For espresso, a group-head brush and a knock box.
Daily: wipe the counter, rinse the dripper, empty the drip tray. Weekly: brush out the grinder, wash the canister lid, check the bean date. Monthly, or whenever the kettle starts to look chalky, descale according to your water hardness. If you have a machine with a steam wand, purge it after every use — it takes seconds and prevents baked-on milk.
Lay out a left-to-right workflow
Arrange the station in the order you use things: beans and grinder, then brewing, then finishing, then waste. Keep the grinder and scale nearest the outlet so cords stay out of the way. Place mugs where you can reach them without leaning across the kettle. If your brewer sits under a cabinet, check that you can still pour comfortably — a lower shelf is easier than a cramped pour.
Cord management is worth ten minutes. A couple of adhesive clips or hook-and-loop ties keep the kettle and grinder leads tidy and stop them migrating across the counter. If the space is genuinely tiny, use the wall: a narrow shelf for cups and a hook for a hand grinder frees up most of the counter for the work itself.
Three habits that keep it tidy
First, nothing stays on the counter that you do not use daily. Second, every item gets a home — the brush in the drawer, the scale on the shelf, the beans in the cupboard. Third, reset the station at the end of each session: rinse, wipe, empty, put away. That is about sixty seconds of work, and it means tomorrow's first cup starts from a clean surface instead of a small archaeological dig.
Build it in stages
Start with the grinder, one brewer, a kettle, and a scale. Live with that arrangement for two weeks before adding anything else, and pay attention to what annoys you: the reach for the cups, the drip that misses the tray, the cord that snags. Fix those small frictions first. A good home coffee bar is not the one with the most equipment; it is the one that is easy to use, easy to clean, and still tidy on a Thursday morning when you are running late.
Photo: JillWellington / Pixabay